Web Console
The ActiveMQ Classic Web Console is a web based administration tool for working with ActiveMQ Classic. When used with the JMX support it can be an invaluable tool for working with ActiveMQ Classic
Running the Web Console on ActiveMQ Classic 5.0 or later
We have integrated the Web Console into the binary distribution. So Download a binary distribution then follow the instructions for Version 5 Run Broker. Then you can point your web browser at the URL
And hey presto, you should now have the Web Console running.
In the event that you are running a standalone broker and the Web Console is not reachable, check that the following lines are included in your ActiveMQ Classic config xml:
<bean class="org.springframework.beans.factory.config.PropertyPlaceholderConfigurer">
<property name="locations">
<value>file:${activemq.base}/conf/credentials.properties</value>
</property>
</bean>

<!-- your broker config goes here -->

<import resource="${activemq.base}/conf/jetty.xml" />
The import will start up an embedded Jetty container. To verify that the config is working, the following should appear in your ActiveMQ Classic console/logs on next startup:
INFO | jetty-7.1.6.v20100715
INFO | ActiveMQ WebConsole initialized.
Changing the port
If you want to change the port number of the web console, see the configuration files in the conf directory.
Securing Web Console
Starting with ActiveMQ Classic 5.4.0, Web Console comes pre-configured with basic access authentication setup. It’s turned off by default, so you need to turn it on explicitly, but it’s really simple. Go to the ${ACTIVEMQ_HOME}/conf/jetty.xml and find the following line
<property name="authenticate" value="false" />
and change it to
<property name="authenticate" value="true" />
That’s it. From that point on, web server will look at ${ACTIVEMQ_HOME}/conf/jetty-realm.properties file trying to match provided credentials with those listed in the file. By default, you can access the web console with admin/admin credentials. That can be changed (and more users can be added) in the jetty-realm.properties file.
You may also wish to enable ssl connector to further secure access to the web console and other web resources of the broker. To do that, go to the ${ACTIVEMQ_HOME}/conf/jetty.xml and make sure you have the secure connector enabled. In versions 5.7 and newer just uncomment a predefined config. In any case make sure your connectors settings looks similar to this.
<property name="connectors">
    <list>
        <bean id="Connector" class="org.eclipse.jetty.server.nio.SelectChannelConnector">
            <property name="port" value="8161" />
        </bean>
        <bean id="SecureConnector" class="org.eclipse.jetty.server.ssl.SslSelectChannelConnector">
            <property name="port" value="8162" />
            <property name="keystore" value="file:${activemq.conf}/broker.ks" />
            <property name="password" value="password" />
        </bean>
    </list>
</property>
Standard connector is left enabled in this example, but you can remove it in your configuration if you wish.
Note that these changes will affect the whole web server, so if you’re using REST API or blob fileserver be sure to provide appropriate credentials.
If you’re interested in securing 5.3.1 (and 5.3.2) Web consoles, take a look at this article. For older versions, please refer to this article
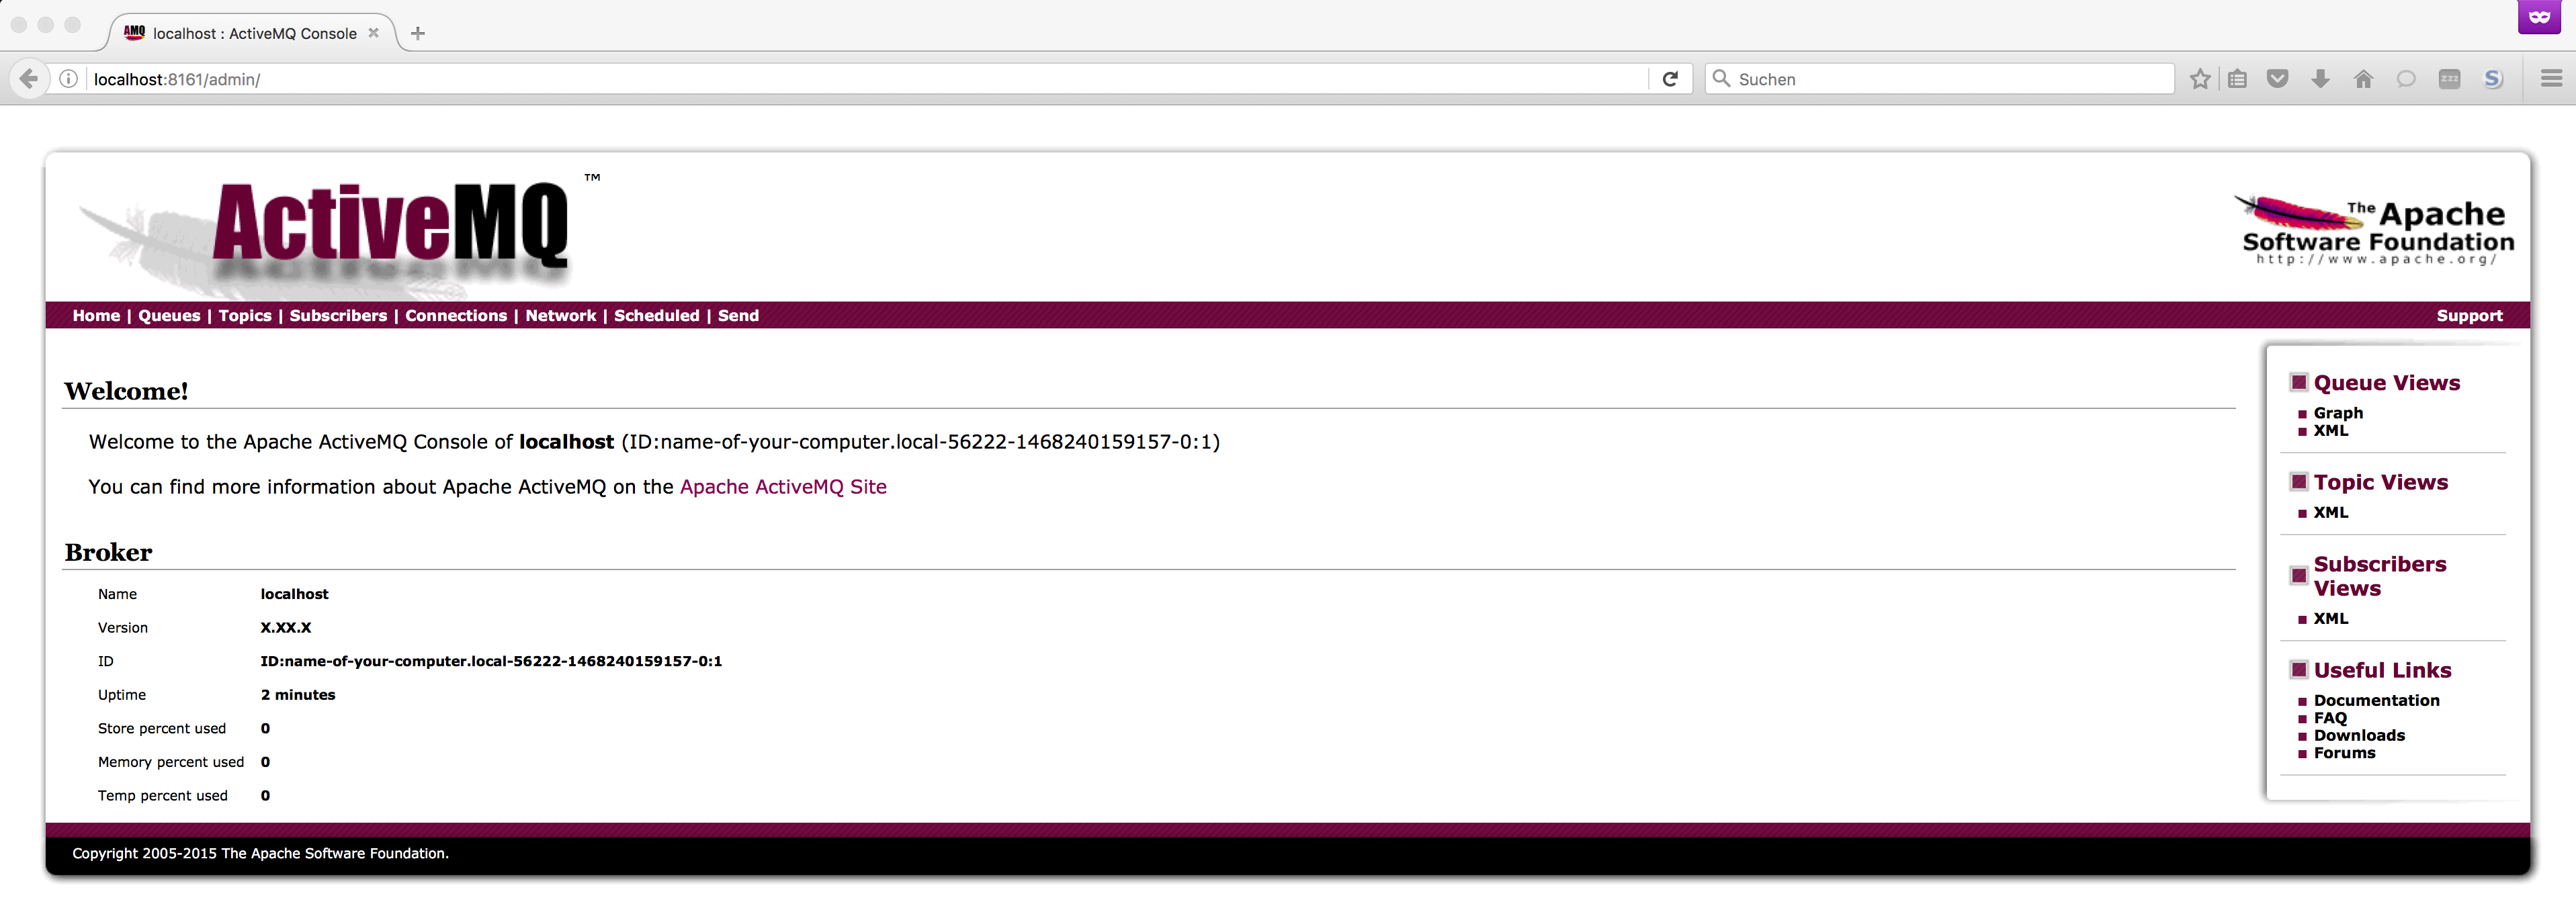
Using the Web Console
The web console is depicted in the following image:
To get started, go to the Send page and send a message to a queue (you can send multiple if you like, see the message count field).
Now that you have sent messages to a queue you should be able to Browse then and view the queue as an RSS or Atom feed.
The Web Console has many features relative to it’s tabs as shown in the following table.
| Tab | Features |
|---|---|
| Home | System Usage |
| Queues | |
| Topics | Viewing Advisory Messages |
| Subscribers | |
| Connections | Protocols |
| Scheduled | |
| Send | Delay and Schedule Message Delivery |
External Web Consoles
There are a number of external web consoles for Apache ActiveMQ Classic in separate open source projects:
| External Project | Description |
|---|---|
| hawtio | hawtio is an open source HTML5 web application for visualising, managing, tracing and debugging Camel routes & endpoints, ActiveMQ Classic brokers, JMX, OSGi and logging. Here is a blog entry how to install hawtio as web console for ActiveMQ Classic. |
| RHQ | RHQ is an open source operational monitoring tool which has support for Apache Camel (along with other Apache projects like Tomcat, httpd, ActiveMQ Classic etc) |